

Process
Tufting, Step by Step
July 27, 2026
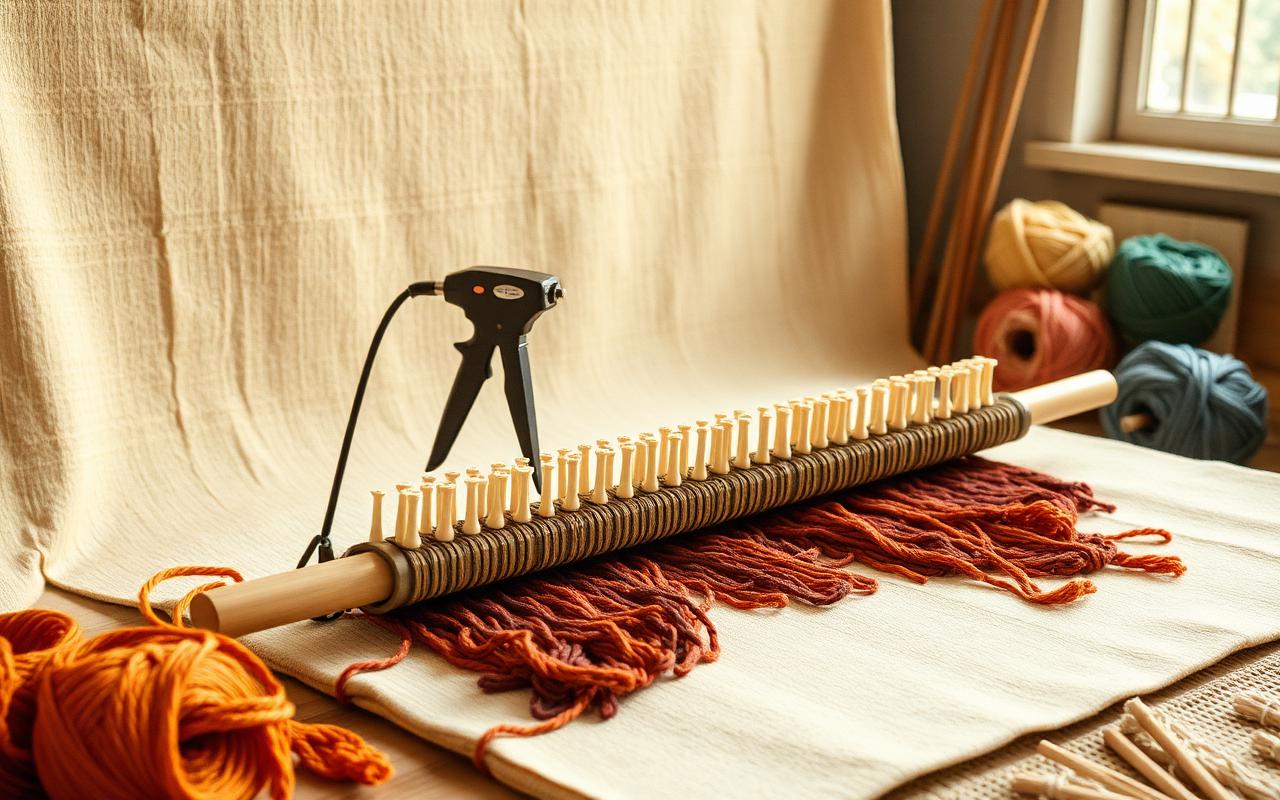
A tufted rug is built in layers, and every layer has to be right before the next one goes on.
**1. The frame and cloth.** Primary tufting cloth is stretched over a wooden frame with the printed grid square to the frame. Any skew here becomes a crooked rug later.
**2. Transferring the design.** I draw the design on the back of the cloth with a marker, mirrored, because you tuft from the reverse side and the pile grows away from you.
**3. Tufting.** The gun rests flat against the cloth, never pushed in. I outline every colour block first, then fill. Speed is not the goal — a steady, even pass gives a uniform pile height.
**4. Glue and backing.** Once tufted, the back is sealed with rug glue so no loop can ever pull out, left to cure overnight, then a felt or cotton backing is applied.
**5. Trimming and carving.** The piece comes off the frame, gets an even shear, and then the fine carving that gives depth around shapes.
A medium wall piece takes me two to three days across these stages, most of it waiting for glue.